

WordPress & WooCommerce makes it easy to create eCommerce websites within minutes without any coding skills. We can easily create a shopping website or digital product selling website in WordPress. WooCommerce plugins have an important role from accepting orders to payments. We can do a lot of stuff with this plugin that we will cover here.
Today we will discuss the step by step setup of Woocommerce plugin in WordPress. We will learn everything from adding products to accepting orders from customers. Let’s get started!
WooCommerce Plugin in WordPress Setup Guide
Before using WordPress you must have a domain and hosting. A domain must be related to your business and hosting must be cost efficient and fast. I have been using Hostinger for the last two years and never faced any issues. So, I recommend Hostinger over other hosting providers. You can use my referral code BLOGMATRIX for extra discounts.
I hope you have WordPress installed If not then install it. Now we are going to set up the Woocommerce plugin. So, you have to follow the some simple steps given below:
Step-1: Install Woocommerce Plugin
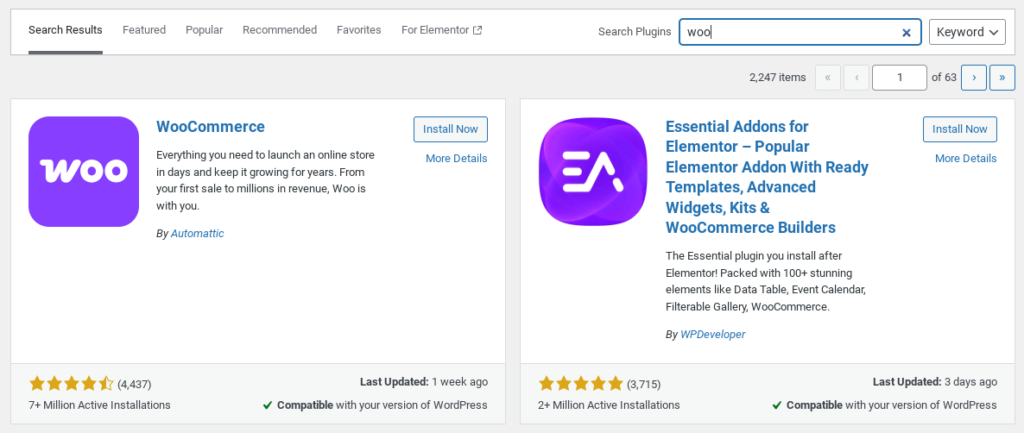
To install WooCommerce Plugin visit your WordPress Dashboard and follow these instructions.
- Go to the Plugin Section.
- Move to search bar and search “Woocommerce“.
- Now we can see Woocommerce Plugin like given in the image.
- Click on the “Install Now” button and Activate it.
Hurry! we have successfully installed Woocommerce Plugin in our WordPress. Let’s proceed to the next steps.
Step-2: Customize Your Store
It’s time to customize our store. You can customize your own theme or can choose pre-made theme designs. We will go with my own theme designs. We can create our own design with Elementor. If you are facing issues in designing comment below.
Step-3: Add Products to Store
To create a successful eCommerce store we need to add some products. Follow the steps to add products using WooCommerce Plugin.
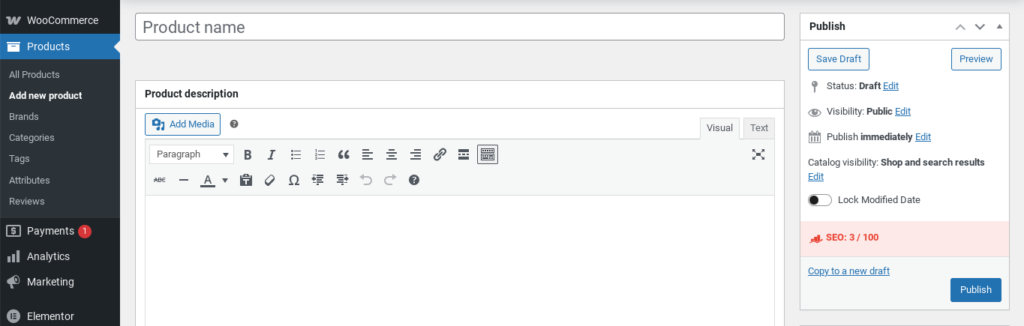
- Go to the Products section in the Woocommerce Plugin.
- Add products name, description, images and more required things.
- After adding all details click on the Publish button and live your products.
Step-4: Set Up Payment Provider
We already added products to our store and now we have to set up a payment provider. We can use Stripe & PayPal for International payments. In India RozerPay can be best for us but I am using Cashfree payment gateway because of its fast approval.
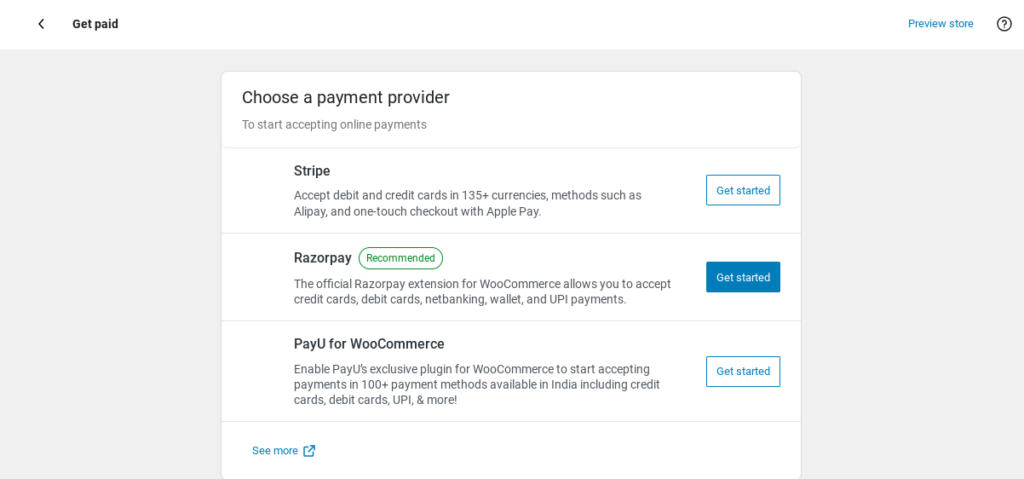
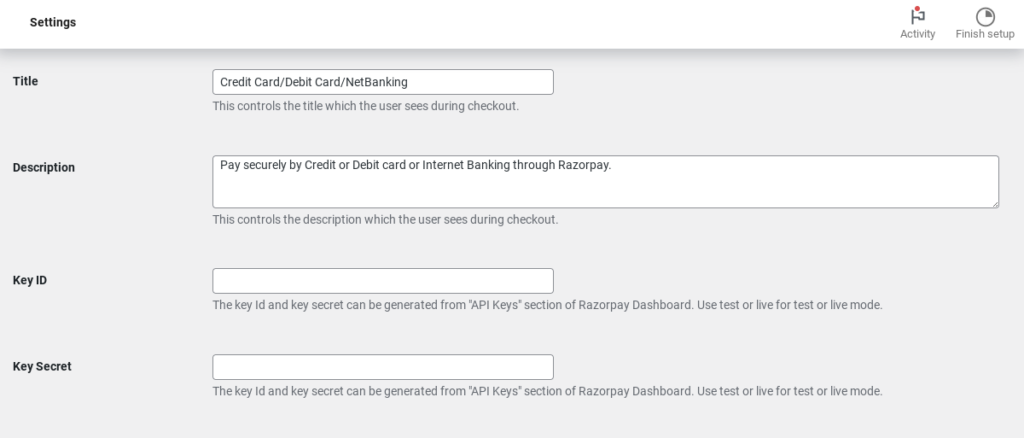
To setup Rozerpay or Cashfree payment gateway go to plugin section and download Rozerpay for WooCommerece or Cashfree for WooCommerce. After downloading configure your API key with Key ID & Key Secret. Watch the video for Rozerpay integration WooCommerce Plugin.
Step-5: All Done!
Now we have completed all WooCommerce Plugin Setup. You can use the Analysis Section to analyse your business sales, orders and customers. I hope you will enjoy our tutorial. Have any questions related to WooCommerce Plugin, just put it in our comment section.
Conclusion
Setting up WooCommerce Plugin with WordPress was an existing journey. Thanks for joining it!
WooCommerce Plugin can be a great idea to create an eCommerece website easily. It is compatible with many plugins like Google, Rank Math, Elementor, and Generatepress. We can customize our store with Elementor easily.
I hope you all enjoyed our blog post. For any further help just connect with me now!
